
The Google Indexing API is a powerful tool, but it's also one of the most misunderstood. In simple terms, it's a direct line to Google, letting you notify them about new or updated pages on your site. The key here is which pages. It's built specifically for time-sensitive content like job postings and live stream events.
The whole point is to get Google to crawl these specific URLs much faster than it would through normal methods like sitemap checks. This is crucial for content with a short shelf life, ensuring it gets seen by the right audience before it becomes irrelevant.
Let's clear the air on a common myth. The Google Indexing API is not a universal shortcut to get all your content indexed faster. I've seen countless site owners try to use it for blog posts, e-commerce products, or news articles, thinking it will give them an edge.
That's not just a bad idea—it's against Google's guidelines. Using the API for anything other than its intended purpose can get your access shut down. Google rolled this out back in December 2018 with a very clear goal: to help websites with job postings and livestream structured data. It lets you ping Google's crawlers directly to index or even remove a URL, cutting down the lag time from hours or days to mere minutes.
The API is a game-changer for a very specific set of websites:
If your site doesn't fit into these two buckets, you're better off sticking with the tried-and-true methods. For most websites, a solid, well-configured sitemap and the occasional manual submission in Google Search Console are all you need. It’s also a smart habit to periodically check if your website is indexed to spot any crawling issues before they become major problems.
To really understand where the API fits, it helps to see how it stacks up against other indexing methods. Each one has a specific job, and using the right tool for the right task will save you a ton of headaches.
MethodBest ForSpeedScalabilityIndexing APIJob Postings, Live StreamsNear-instant crawl requestLimited by daily quotasSitemapAll standard content (blogs, pages)Slower (hours to days)Highly scalable for entire sitesManual Request (GSC)A few high-priority URLsFast (minutes to hours)Not scalable (one URL at a time)
Here’s the bottom line: The Google Indexing API is a specialized tool built for speed, not a replacement for good, fundamental SEO. Its real power is in handling time-sensitive content that would otherwise expire before Google’s regular crawlers even knew it existed.
Alright, let's talk about the prep work. Before you write a single line of code, getting your technical foundation sorted is absolutely the most critical part of this whole process. This is exactly where most integrations fall apart, leading to a world of frustrating permission errors later on.
We're going to walk through the essential setup for your Google Cloud and Search Console accounts to make sure the connection is seamless. Think of it as building a solid launchpad before you even think about lighting the rocket.
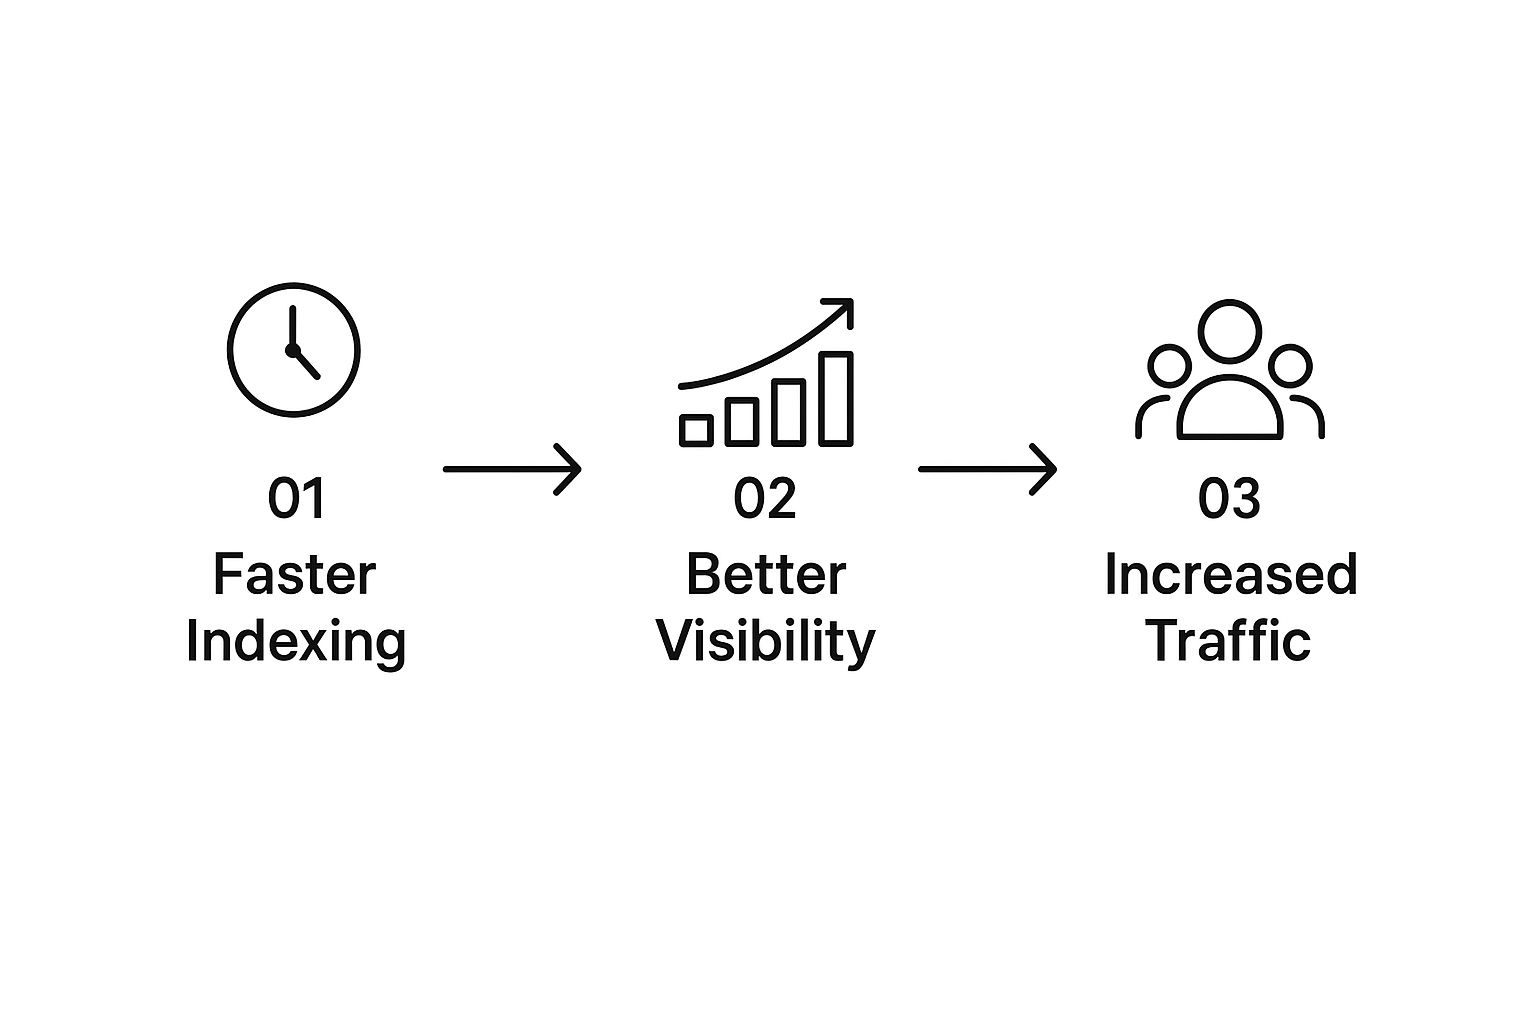
The logic is simple: getting your pages indexed faster leads directly to better search visibility. That visibility, in turn, drives more of the right kind of traffic to your site.
First things first: every single interaction with a Google API has to happen inside a Google Cloud Project. This project is basically a container where you'll manage APIs, handle all the authentication, and keep an eye on usage.
If you already have a project for your website, you're good to go. If not, creating a new one is your first move. This step is completely non-negotiable; without a project, you can't enable the API or create the credentials you need to make authenticated calls.
With your project ready, you need to "switch on" the Google Indexing API. By default, most APIs are turned off to prevent any unauthorized use. You'll have to head over to the API Library in your Google Cloud Console and search for the "Indexing API."
Once you find it, just click the "Enable" button. This officially links the API to your project, making it available and allowing Google to track your requests against your project's quota.
It’s always a good idea to brush up on general API design best practices before you start. This habit helps you understand the "why" behind some of these technical requirements, making troubleshooting much easier down the road.
Now for the real key to automation: the service account. Think of this as a special type of Google account built for a non-human user, like your server or application. Since your website's backend will be firing off API requests automatically—without a person logging in each time—this is the only way to authenticate.
When you create the service account, Google will prompt you to download a JSON key file. Guard this file like it's gold. It contains the private credentials your application will use to prove its identity to Google. This file is the linchpin of your entire integration.
Here’s what you need to do:
This is the final, make-or-break step of the pre-flight checklist. Your brand-new service account is just an identity right now; on its own, it has zero power over your website. To give it the permissions it needs, you must add it as an "Owner" of your property in Google Search Console.
Go back to the Google Cloud Console and find the email address of your new service account. It'll look something like this: your-account-name@your-project-id.iam.gserviceaccount.com.
Next, head over to your Google Search Console property and:
If you skip this, every API call you make will fail with a 403 Permission Denied error. The service account must be a verified owner to submit URLs on your behalf. Taking the time to get these foundational steps right is crucial, as it will help you better understand how to get Google to crawl your site more effectively through both manual and automated methods.
Alright, you've done the setup work. Permissions are granted, credentials are created, and now it's time for the payoff: making your first live call to the Google Indexing API. This is where we move from configuration to execution. We’ll take that JSON key file you downloaded, use it to get an access token, and then build the actual API call.
First things first, let's talk about that JSON key file. It's the digital identity for your application, and you need to treat it like gold. Never, ever expose it in your website's front-end code or commit it to a public GitHub repository. It belongs on your server, stored securely where only your application can access it.

Before you can send any commands to the API, you have to prove you have permission. This happens through OAuth 2.0, which is just a standard way for applications to get authorized. In our case, your application shows its service account credentials (the JSON key) to Google's servers. In return, Google provides a temporary access token.
Think of this token as a short-lived pass to get into the club. It’s typically only valid for one hour, after which you'll need a new one. The good news is that if you use Google's official client libraries, they handle all the token generation and refreshing behind the scenes, so you don't have to manage it manually.
Here's a Python example that shows how to load your credentials and get an authorized service object ready. This uses the google-api-python-client and oauth2client libraries, which are the standard for this kind of work.
import httplib2
from googleapiclient.discovery import build
from oauth2client.service_account import ServiceAccountCredentials
KEY_FILE_LOCATION = 'path/to/your/service-account-key.json'
SCOPES = ['https://www.googleapis.com/auth/indexing']
credentials = ServiceAccountCredentials.from_json_keyfile_name(
KEY_FILE_LOCATION,
scopes=SCOPES
)
indexing_service = build('indexing', 'v3', credentials=credentials)
With this code, your application is authenticated and ready to make authorized calls to the v3 endpoint of the Indexing API.
Now that you're authenticated, you can build the request itself. Luckily, the Google Indexing API keeps things simple. It just needs a small JSON payload telling it which URL you're talking about and what you want to do.
You'll mainly use two action types:
URL_UPDATED: This is your workhorse. Use it when you publish a new page (like a new job post) or update an old one. It’s your way of telling Google, "Hey, come crawl this page again."URL_DELETED: This one is for when a page is gone for good, like when a job position is filled and you take the listing down. It asks Google to remove the URL from its index.Key Insight: Don't let the name fool you. URL_UPDATED isn't just for existing pages. It's also the correct type to use for brand-new URLs. Think of it as the universal signal for "please crawl this page."
You'll be sending an HTTP POST request to a single endpoint for all notifications: https://indexing.googleapis.com/v3/urlNotifications:publish.
Let's put it all together. The Python snippet below shows how to build and send a request to let Google know about a new or updated URL. It picks up right where our previous indexing_service object left off.
url_to_update = 'https://your-job-board.com/jobs/senior-developer-123'
request_body = {
'url': url_to_update,
'type': 'URL_UPDATED'
}
response = indexing_service.urlNotifications().publish(body=request_body).execute()
print(response)
If you run this and everything is set up right, you'll see a success response printed out. A 200 OK status means Google accepted your request and has put the URL in its priority crawl queue. While the API significantly speeds up the crawl request, the final indexing time can still vary based on other factors. You can dive deeper into that in our guide on how to increase your Google crawl rate.
Removing a URL is almost identical. The only thing you need to change is the type field in the request. This is a crucial step for keeping your site's presence in Google clean and ensuring users don't find dead links for filled job positions.
Here’s how you’d structure that request.
Request Type Breakdown
Request TypeWhen to Use ItExample ScenarioURL_UPDATEDA new page is published or an existing page's content has changed.You add a new job posting for a "Marketing Manager" or update the salary on an existing one.URL_DELETEDA page has been permanently removed and should be dropped from the index.A job position has been filled, and you've deleted the corresponding page from your website.
Executing this tells Google the content is gone and shouldn't be in search results anymore. It's way more efficient than just waiting for Googlebot to eventually find a 404 or 410 status on its own.
Seeing that first 200 OK response is a great feeling—it’s the final confirmation that your entire setup, from the Google Cloud project to the final line of code, is working perfectly.
Getting a successful API call is a great first step, but using it responsibly is what really matters for the long run. Now that you’ve got the how down, let's talk about how to do it right. Consider this your playbook for staying in Google's good graces and making sure this powerful tool works for you, not against you.
First and foremost, you absolutely have to respect the intended purpose of the Google Indexing API. It was built for two things and two things only: JobPosting and BroadcastEvent (live stream) structured data. If you try to sneak in your regular blog posts or e-commerce product pages, you're not just breaking the rules—you're on the fast track to getting your access revoked.
Think of it as a precision instrument, not a sledgehammer for all your indexing needs.

Every new project using the Indexing API gets a default quota. Right now, that’s 200 publish requests per day. This number lumps together both URL_UPDATED and URL_DELETED notifications. For a small job board, 200 is plenty. But if you're running a high-volume site, you can burn through that quota surprisingly fast.
It's critical to keep an eye on your usage in the Google Cloud Console. If you constantly hit your limit, you'll start seeing 429 Too Many Requests errors, which will lock you out temporarily.
Now, if your site legitimately needs more—maybe you're an aggregator posting thousands of jobs a day—you can request a quota increase right from the console.
My Personal Tip: Before you even think about asking for a higher quota, get your house in order. Google is far more likely to approve requests from projects that show high-quality, guideline-compliant usage. Spamming the API with low-value URLs is a massive red flag.
Here’s a pro move: instead of firing off a separate API call for every single URL, use batch requests. This feature is a game-changer, letting you bundle up to 100 URL notifications into a single HTTP request.
It’s the difference between driving to the grocery store for one item, 100 times, versus making one trip with a full shopping list.
Batching your requests pays off in several ways:
I've seen these simple mistakes cause everything from frustrating errors to a permanent API ban. Steer clear of them.
The biggest one? Resubmitting URLs that haven't actually changed. The API is for telling Google about new or updated content. Ping-ponging the same unchanged page at Google just wastes your quota and looks incredibly spammy. Only send a request when a job is posted, updated, or taken down.
Another common slip-up is using the wrong type. Always use URL_UPDATED for new or modified pages. URL_DELETED is for pages that are gone for good. If you accidentally send a URL_DELETED request for a page you just updated, you risk getting it kicked out of the index entirely.
Ultimately, the Google Indexing API is just one piece of a much larger puzzle. It works alongside other tools in Google's developer ecosystem to help you get the best possible search performance. It’s the tool that ensures your most time-sensitive content gets seen by Google right away. By understanding how Google's various developer tools work together, you can build a much more comprehensive and effective SEO strategy.
Sooner or later, you're going to run into an error message. It’s just a fact of life when working with any API. The good news is that most errors from the Google Indexing API are predictable and have clear, straightforward solutions. Instead of getting frustrated by cryptic codes, think of them as signposts telling you exactly what needs fixing.
This section is your go-to reference for translating those error messages into action. We'll walk through the most common issues, explain what they really mean, and show you precisely how to get things running smoothly again.
Seeing a 403 Permission Denied error is, without a doubt, the most frequent roadblock you’ll hit, especially during your initial setup. This error code isn't ambiguous; it means Google understands your request, but the account making it—your service account—doesn't have the right permissions to do what you're asking.
Nine times out of ten, the problem is a simple misconfiguration in Google Search Console. The API is telling you that your service account, even with valid credentials, hasn't been granted ownership of the website property it's trying to update.
Here’s how to fix it:
your-api-user@your-project-id.iam.gserviceaccount.com.Once you’ve made sure the service account is a verified Owner, that pesky 403 error should vanish. If you've corrected the permission and still see the error, take a moment to double-check that you are submitting URLs for the exact property (for example, https://www.yourdomain.com vs. https://yourdomain.com).
Another error you’ll likely see is 429 Too Many Requests. Like the 403 error, this one is very direct: you’ve simply hit your daily usage limit. By default, Google gives each project a quota, which is typically 200 publish requests per day. This limit includes both URL_UPDATED and URL_DELETED notifications.
When this error pops up, all subsequent requests will be blocked until your quota resets, which usually happens around midnight Pacific Time.
Key Takeaway: The 429 error is a hard stop. There's no way around it other than waiting for the reset or being more strategic with your requests. This is precisely why batching requests is so critical for sites with a lot of content updates.
If you consistently hit this limit because of legitimate site activity (like running a large job board or e-commerce store), you can apply for a quota increase. You’ll find this option in the Google Cloud Console's Quotas section for the Indexing API. Just be prepared to explain why you need a higher limit.
This is one of the most confusing scenarios: the API returns a 200 OK success message, but your pages still don't show up in Google's index after a day or two. It's confusing because the API did its job—it successfully told Google to come and crawl your page.
But a crawl request is not an indexing guarantee.
If Google crawls your page and finds problems, it may simply decide not to index it. This almost always points to bigger, site-level issues rather than a problem with the API. If you find that Google is not indexing your site effectively, you’ll need to look beyond your API requests.
Common reasons Google might choose not to index a page include:
robots.txt file or have a noindex tag telling Google to stay away.When this happens, your best friend is the URL Inspection tool in Google Search Console. Plug in the specific URL, and the tool will tell you exactly why Google has chosen not to index it. The API gets your foot in the door; it's your site's quality that determines if you're invited to stay.

When you start digging into a tool as specific as the Google Indexing API, you're bound to have questions. We hear a lot of the same ones from site owners, so let’s clear the air and tackle the most common uncertainties head-on.
Getting these answers straight from the start prevents wasted time and ensures your strategy aligns with Google's actual guidelines.
The short answer is no. Google has been incredibly clear that the API is meant exclusively for pages with JobPosting or BroadcastEvent (think live streams) structured data.
While I've seen plenty of SEOs experiment with it for other types of content, doing so is a direct violation of the official guidelines. If you try to push standard blog posts or news articles through the API, you risk having your project's access to the Google Indexing API revoked without any warning. It's a gamble that just isn't worth it.
This is a huge point of confusion. When you get a successful 200 OK response from the API, it simply means Google has received your request and dropped the URL into a priority crawl queue. That crawl can happen almost immediately—often within a few minutes.
But here’s the catch: a fast crawl does not guarantee instant indexing. The actual process of getting the page indexed and visible in search results can still take anywhere from a few minutes to a couple of hours. The API's main job is to slash the time it takes for Google to discover your content, not to control the final indexing timeline.
Key Insight: Think of the API as a priority pass for the Googlebot. It gets you to the front of the line, but Google still needs to review your content's quality and technical health before officially adding it to the index.
By default, every Google Cloud project gets a quota of 200 publish requests per day. This is a combined limit that includes both URL_UPDATED and URL_DELETED notifications.
You can keep an eye on your real-time usage right inside the Google Cloud Console. If you're running a massive site, like a major job board, and have a legitimate reason to need more, you can apply for a quota increase directly through the console.
Absolutely not. The Indexing API is a tool for speed, not ranking authority. Its one and only purpose is to tell Google about new or updated time-sensitive content much faster than traditional methods like sitemaps.
Your rankings are still decided by hundreds of other signals—content quality, site authority, user experience, and relevance are the big ones. While getting your job posting indexed faster gives you a leg up on timeliness, it does nothing to influence how high that posting will actually rank. For a broader look at getting your site on Google's radar, check out our guide on how to submit a website to search engines.